Note: After you create the content using AI, ensure you establish the course where the content would be attached for distribution. Please remember the content can not be assigned to a learner on its own. View article to see how: How to Create a New E-Learning Course
Below you can scroll through the steps to create course content using the Creator tool:
Learn how to efficiently generate course materials by utilising AI prompts and uploading supporting documents. This guide walks you through the workflow of drafting lessons and organising structural layouts within the Allara Global LMS.
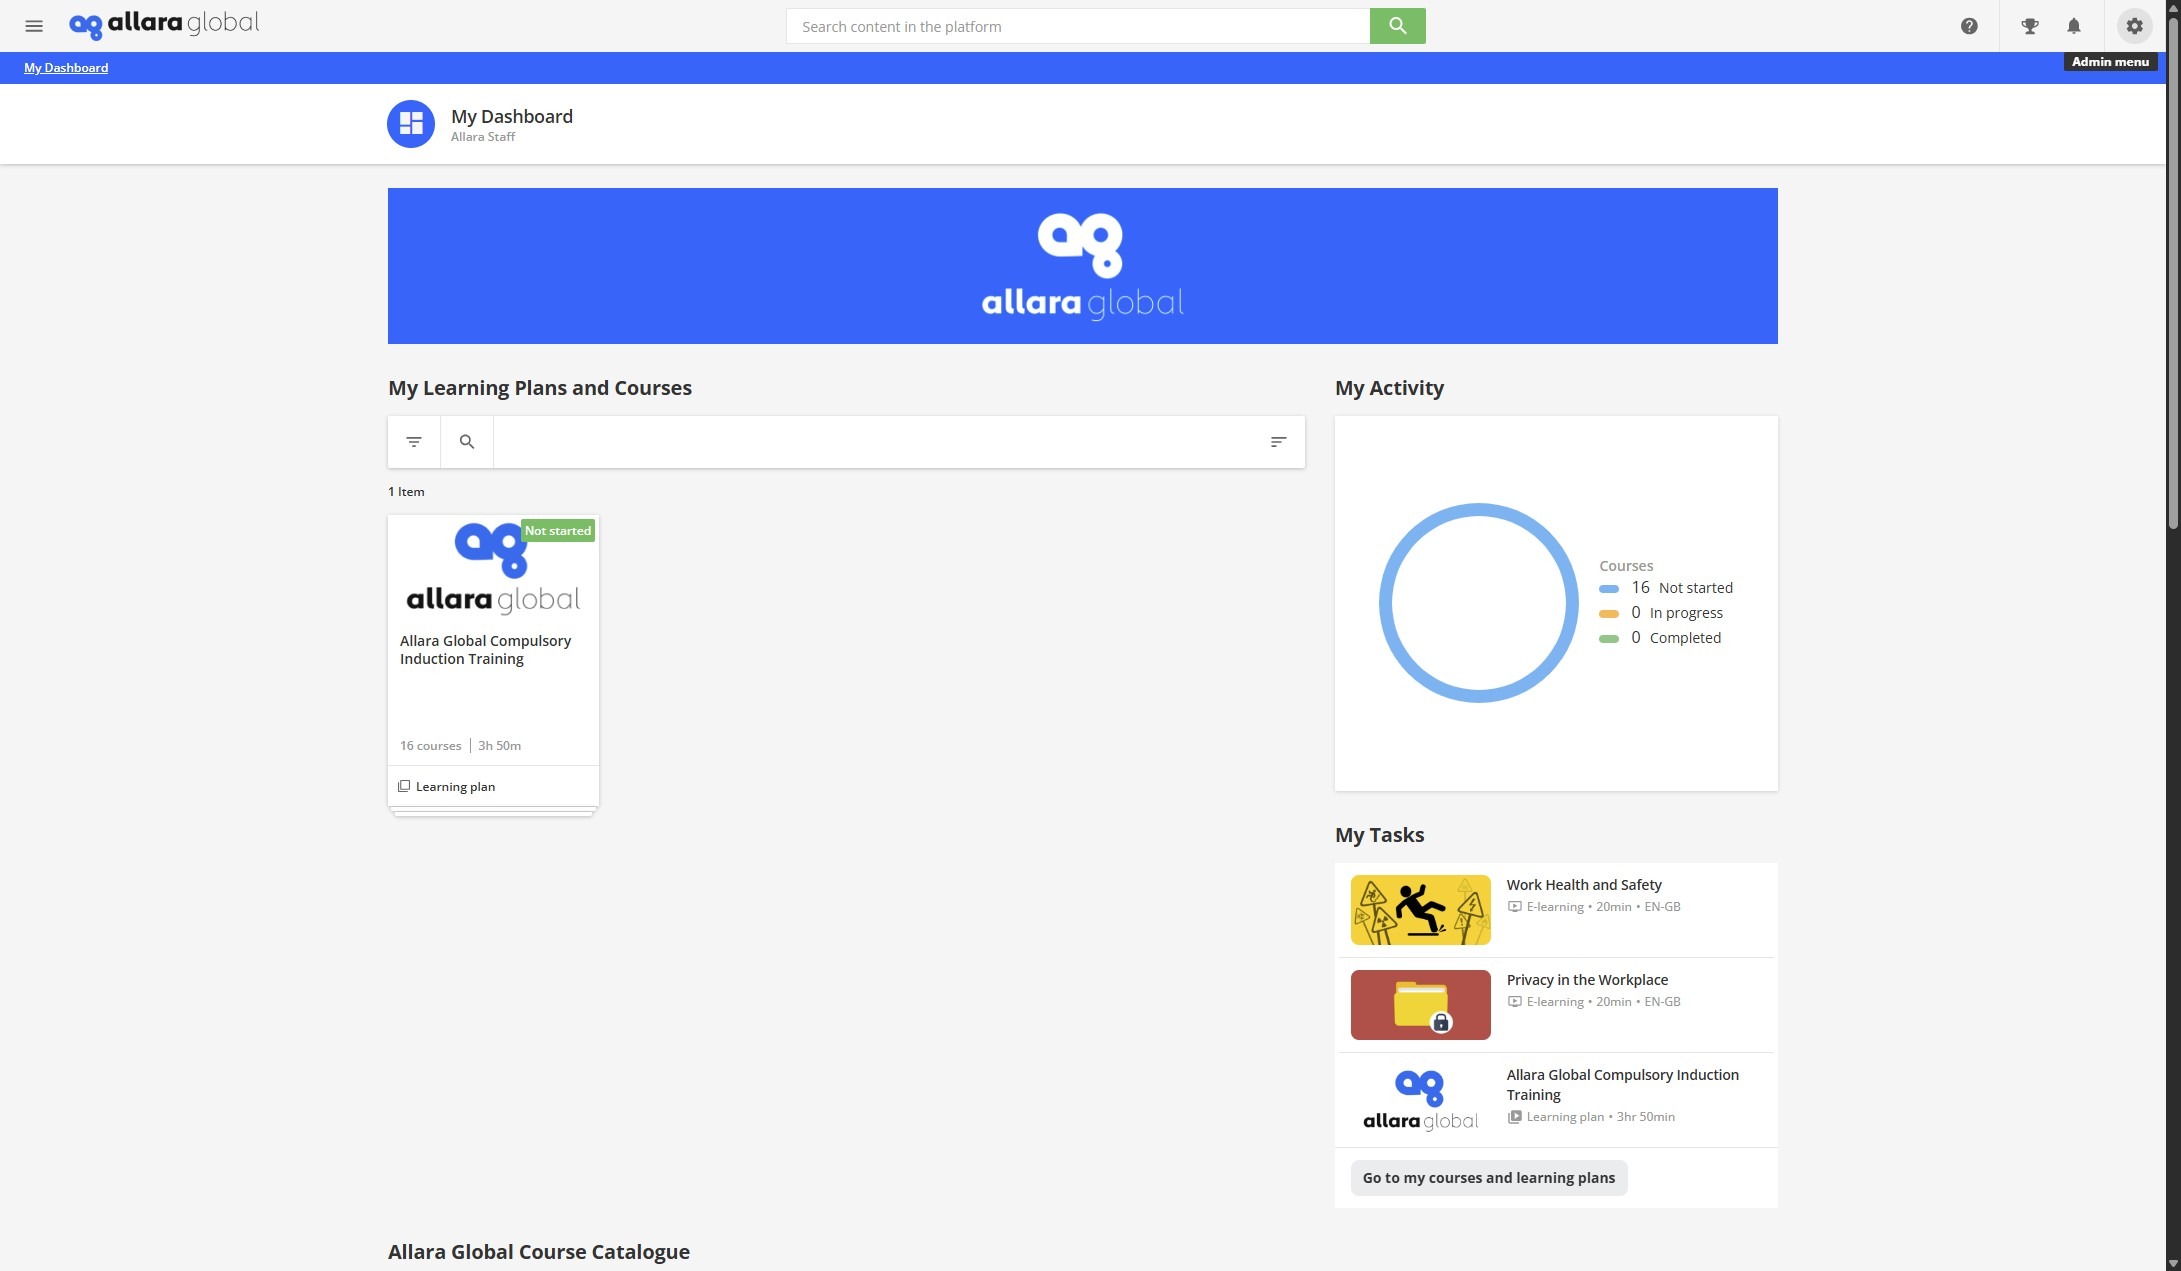
1. Navigate to https://www.allara.academy/
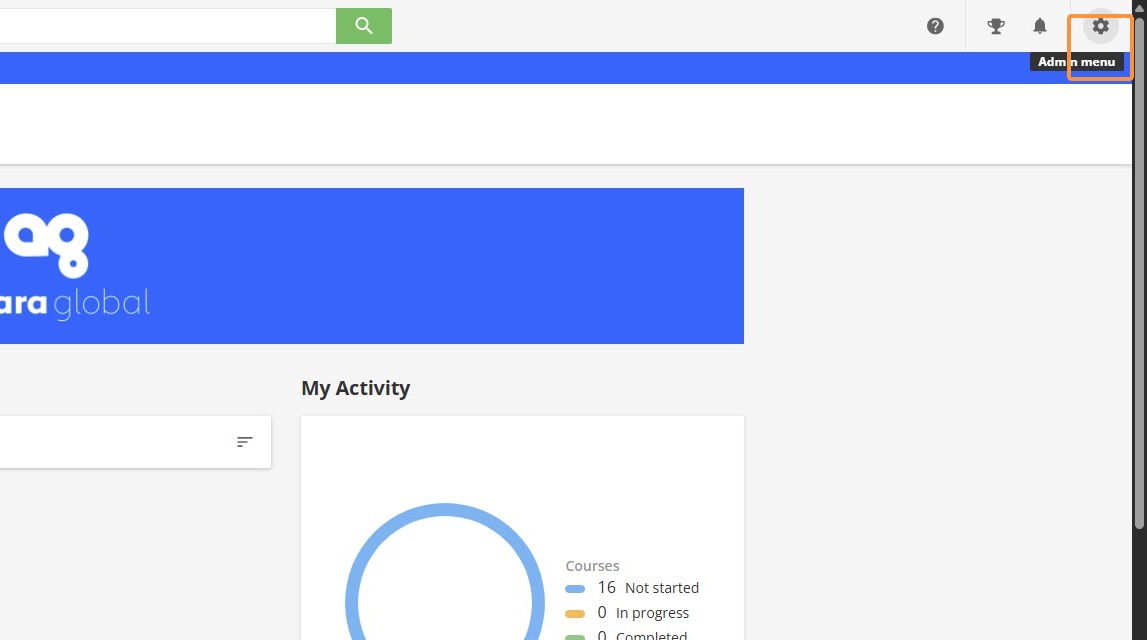
2. Click the gear button on the top right corner.
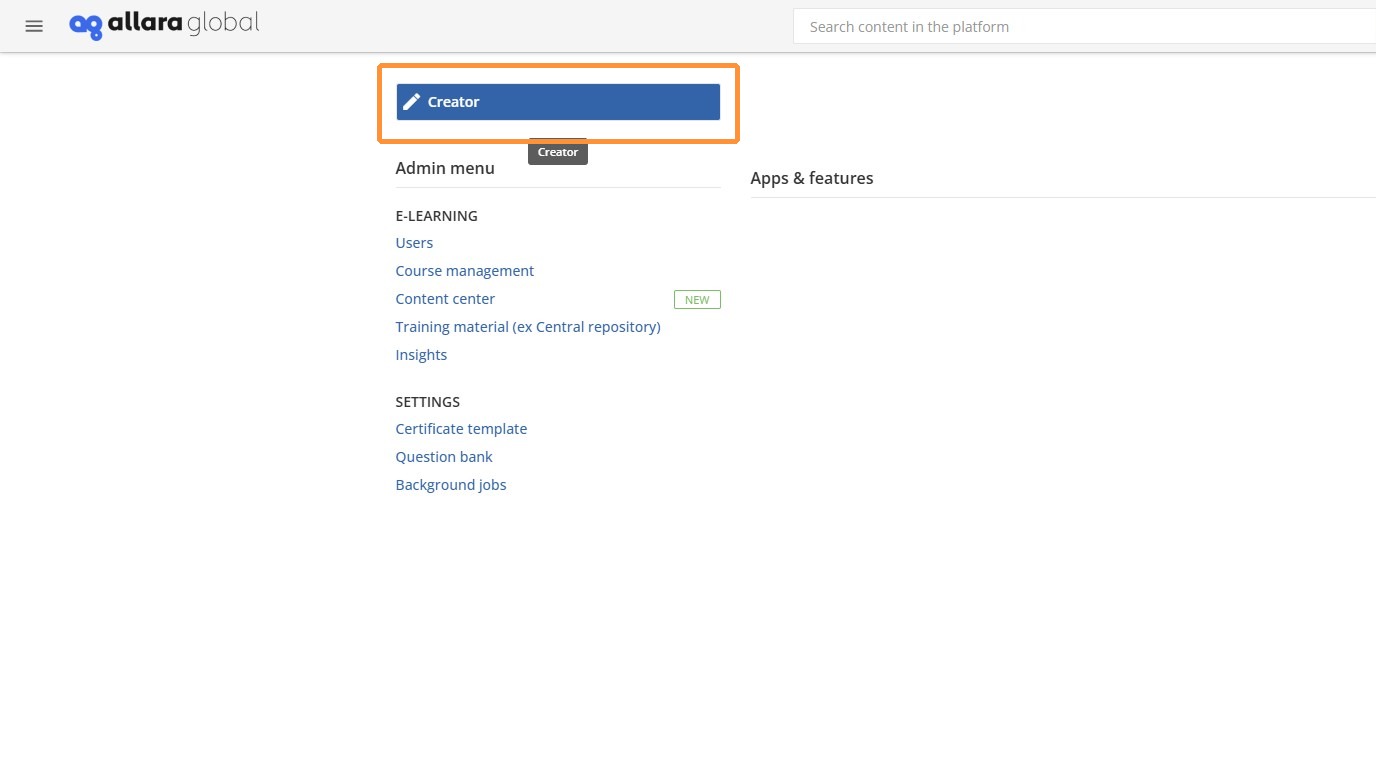
3. Click "Creator" to access the creator tool
4. You can choose between creating an AI-generated lesson or a blank lesson.
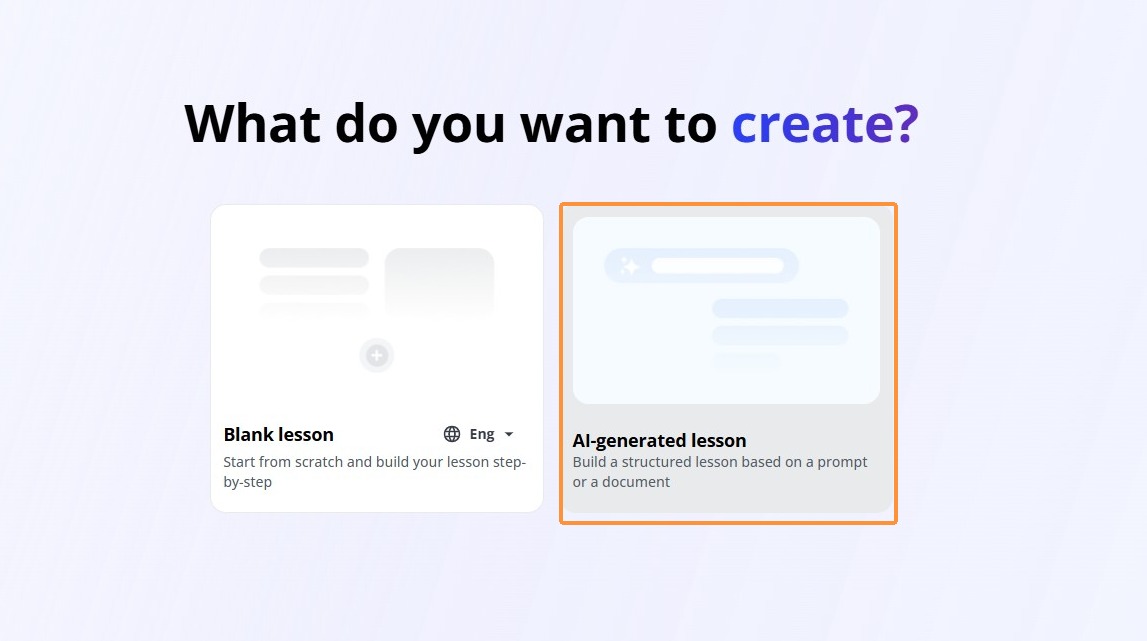
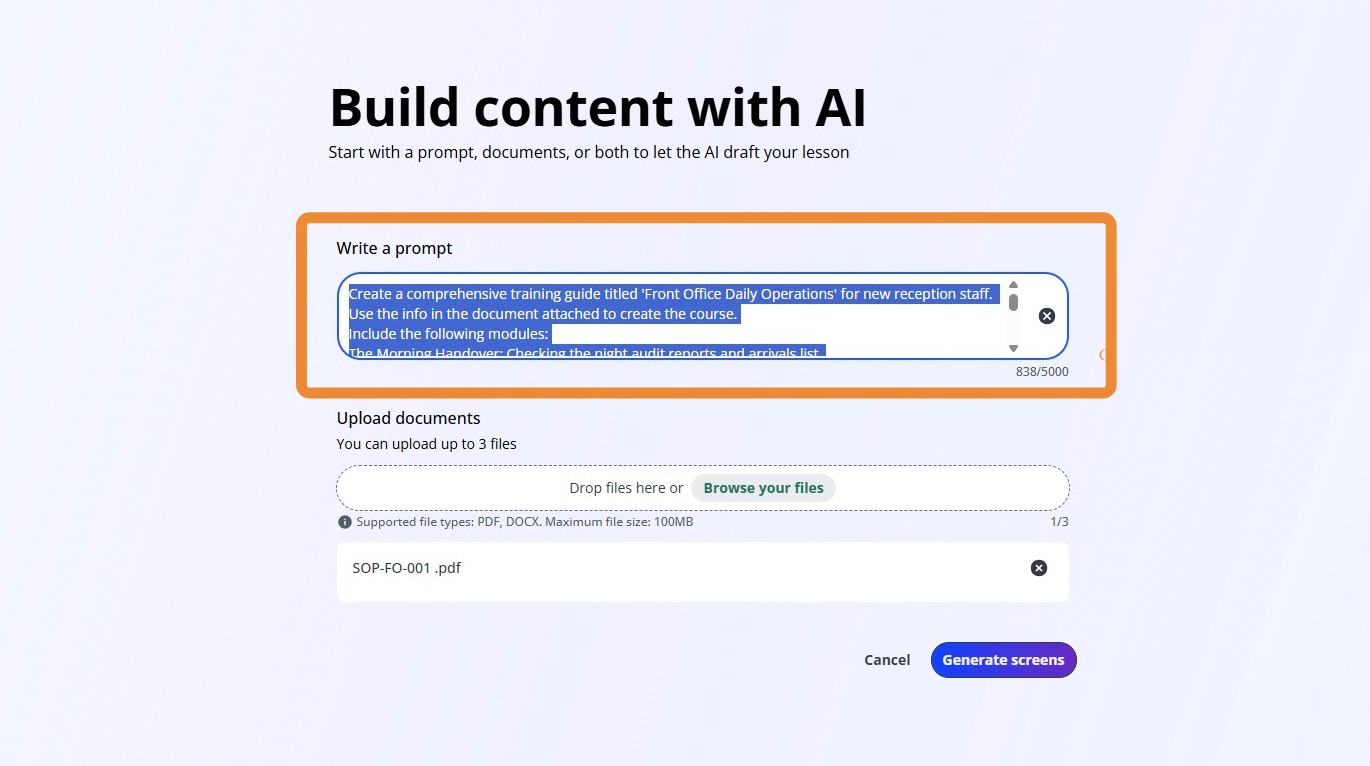
5. In this step we will have to write a prompt for the AI generator and attach any files that may have the info needed in the training material.
Think of this prompt as instructions to the AI model how it should build the training material and what all should it include. Please remember the training material generated would be as good as your prompt, so we recommend spending as much time needed to craft a comprehensive and assertive prompt that outlines all the info AI tool will need. Focus on structure of the modules and design elements.
Optional: You can then attach any PDF or DOCX documents that contain the detailed information AI tool can use to create the training.
An example of a good prompt is as below, but largely varies depending on your needs in each case:
"Create a comprehensive training guide titled 'Front Office Daily Operations' for new reception staff. Use the info in the document attached to create the course.
Include the following modules:
- The Morning Handover: Checking the night audit reports and arrivals list.\
- Standard Guest Check-In: A step-by-step procedure for identity verification, credit card pre-authorisation, and room orientation.\
- Inter-departmental Coordination: Communicating room status updates with Housekeeping and maintenance.\
- Handling Walk-In Guests: Procedures for checking availability and processing on-the-spot reservations.\
- Shift Wrap-Up: Reconciling the cash drawer and preparing the handover for the next shift.*
Use a professional but welcoming tone. Organise content into approximately 8 to 10 screens with clear headings and bullet points for readability."
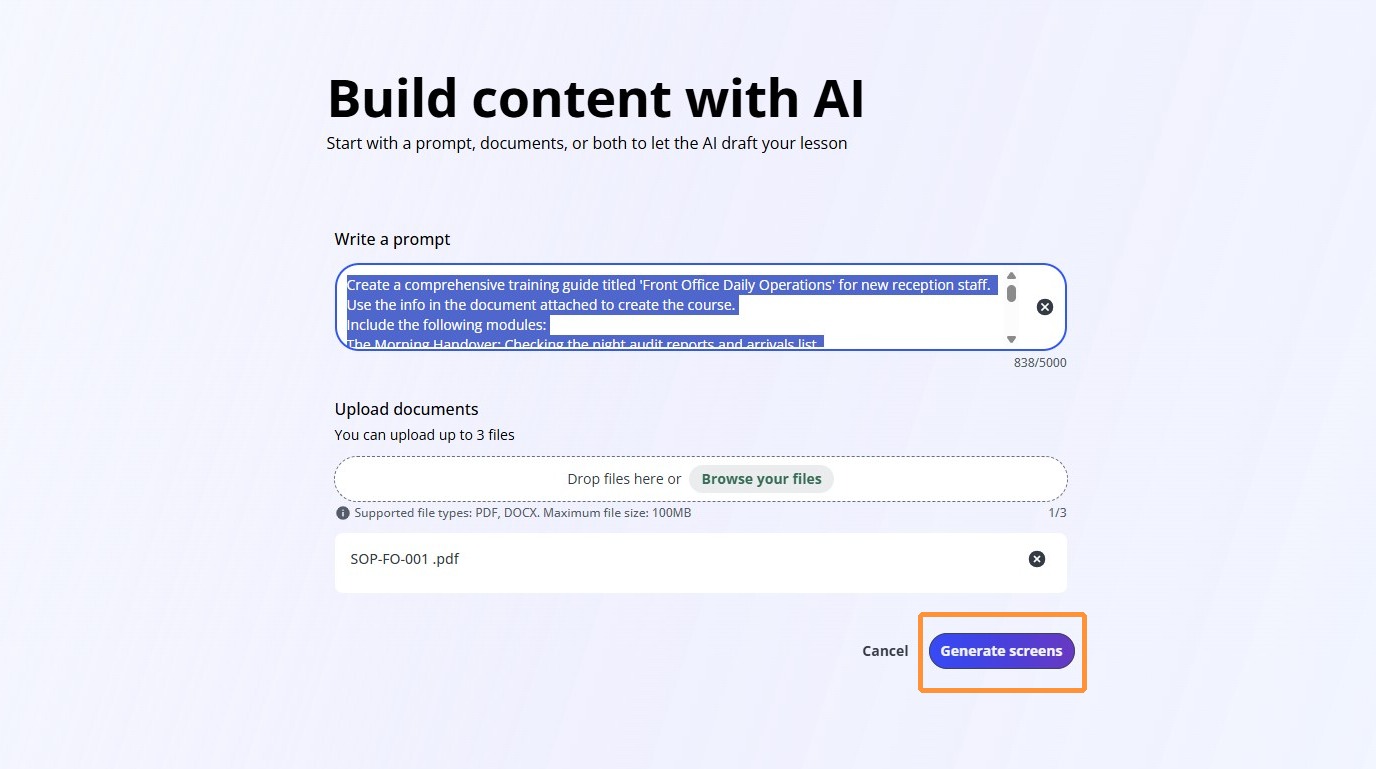
6. Click Generate screens button to proceed.
7. After a few seconds/minutes of processing the AI generated screens will appear. The list of different screens that were generated will appear of the left side of the screen.
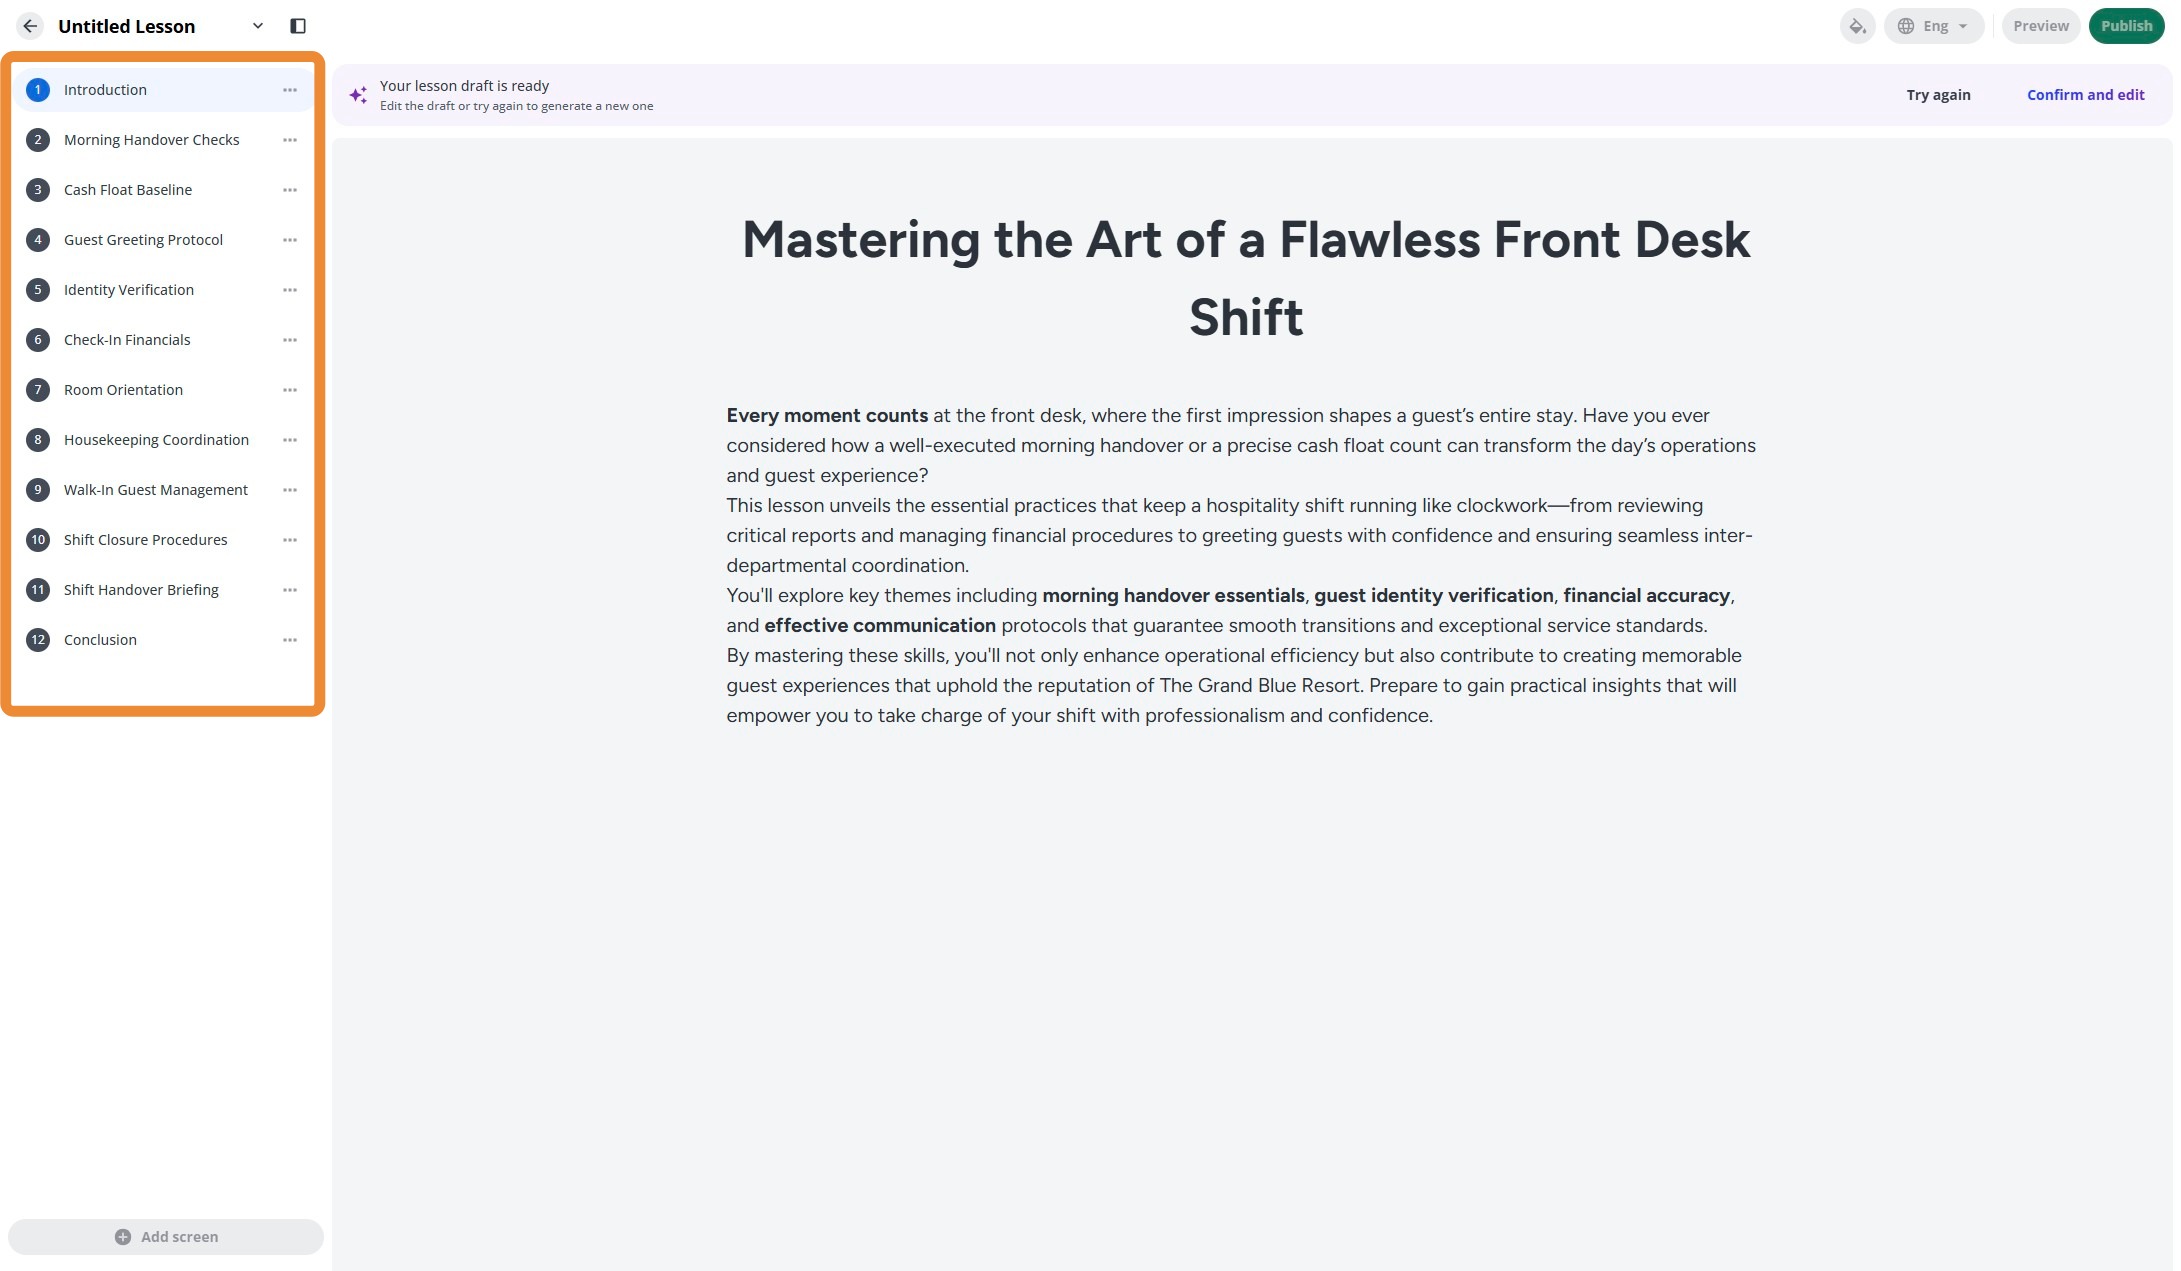
8. If you are unhappy with what you see and would like to try again, you can click the Try again button.
Note that all your progress will be lost and you'd need to start from scratch.
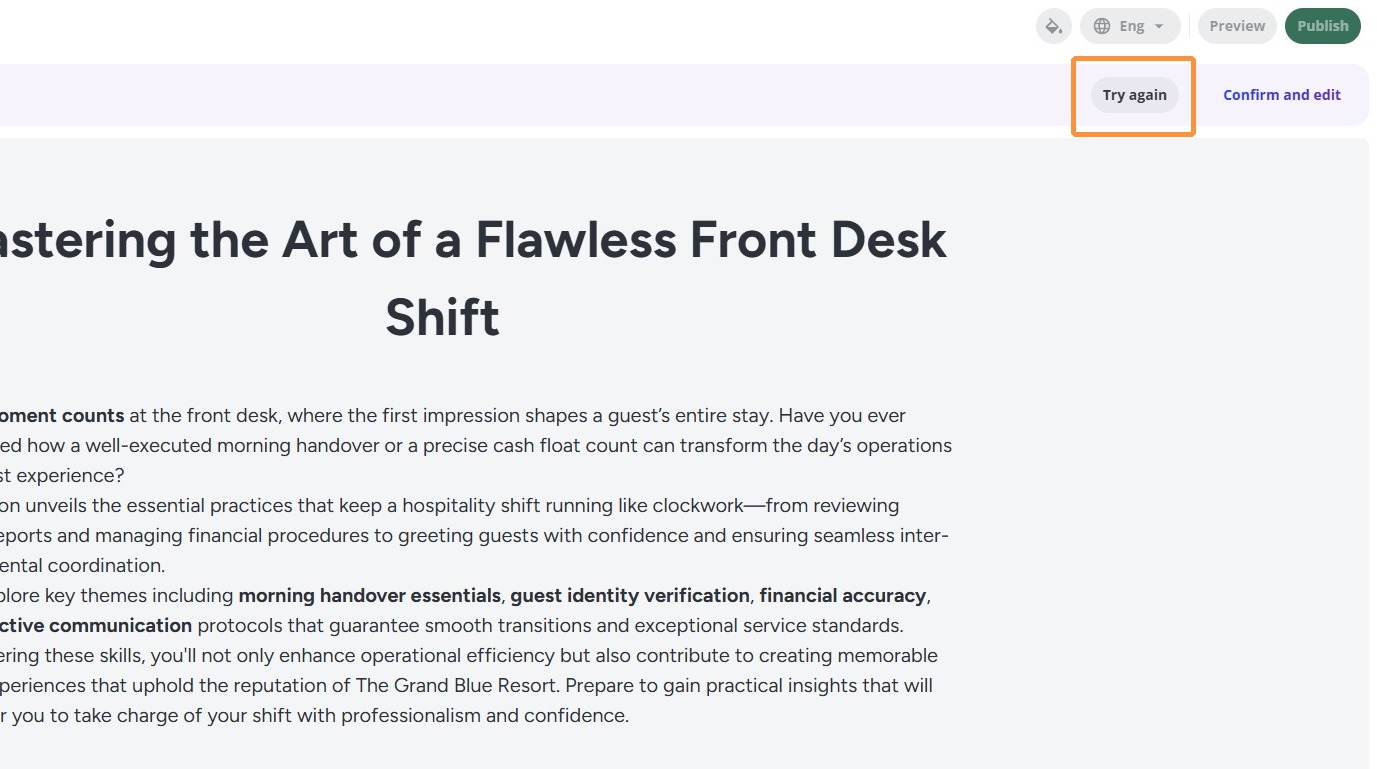
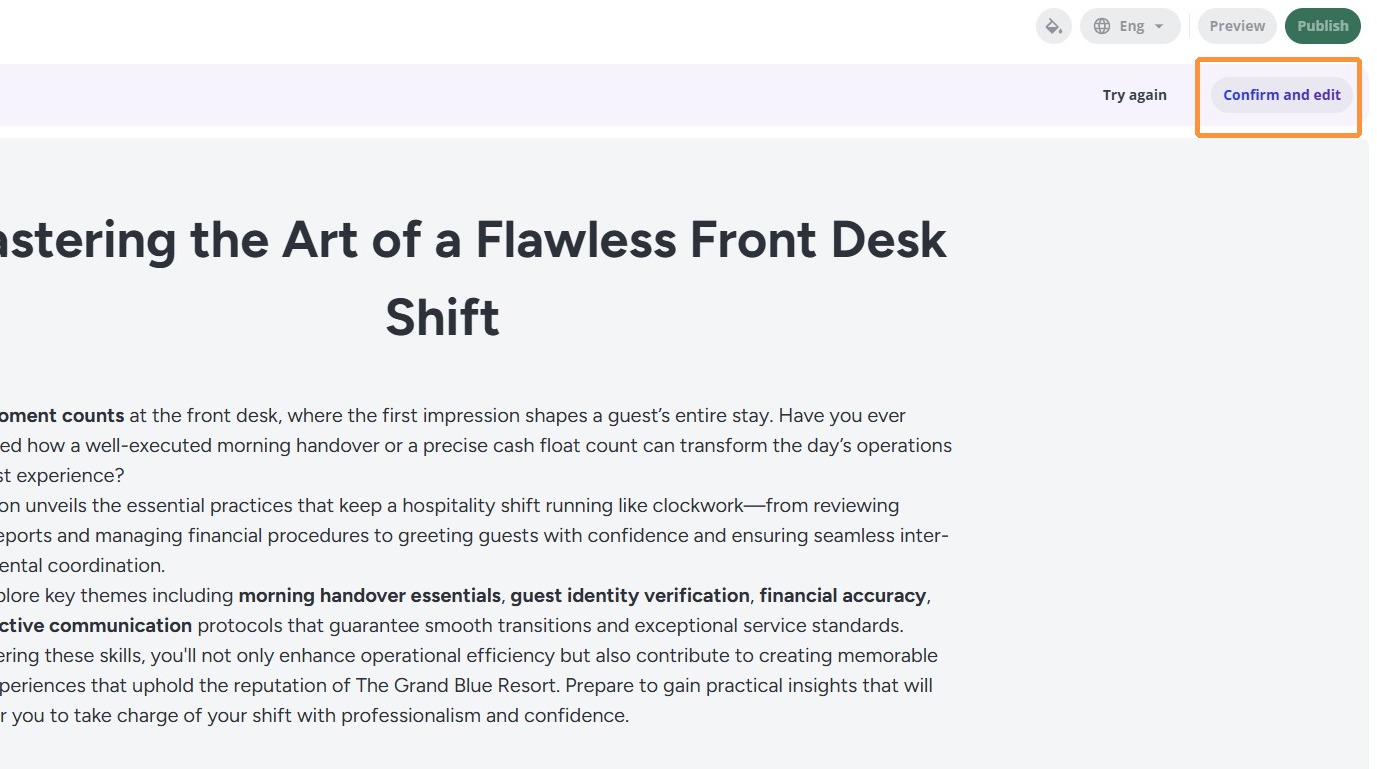
9. If you are satisfied with the content generated, you can click the Create and edit button, and start editing.
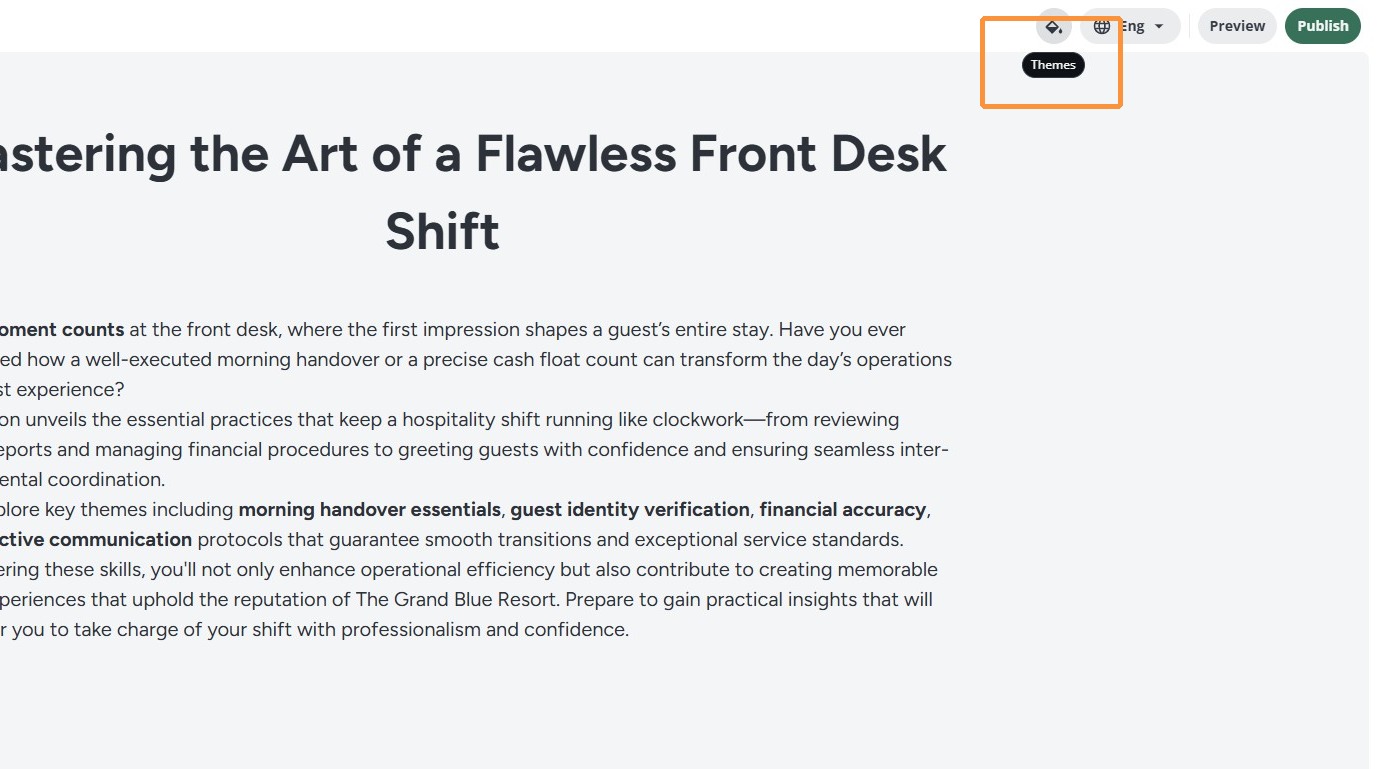
10. At the top right corner there is a Preview button that can be used at any time to view how the training material would like from learners' perspective.
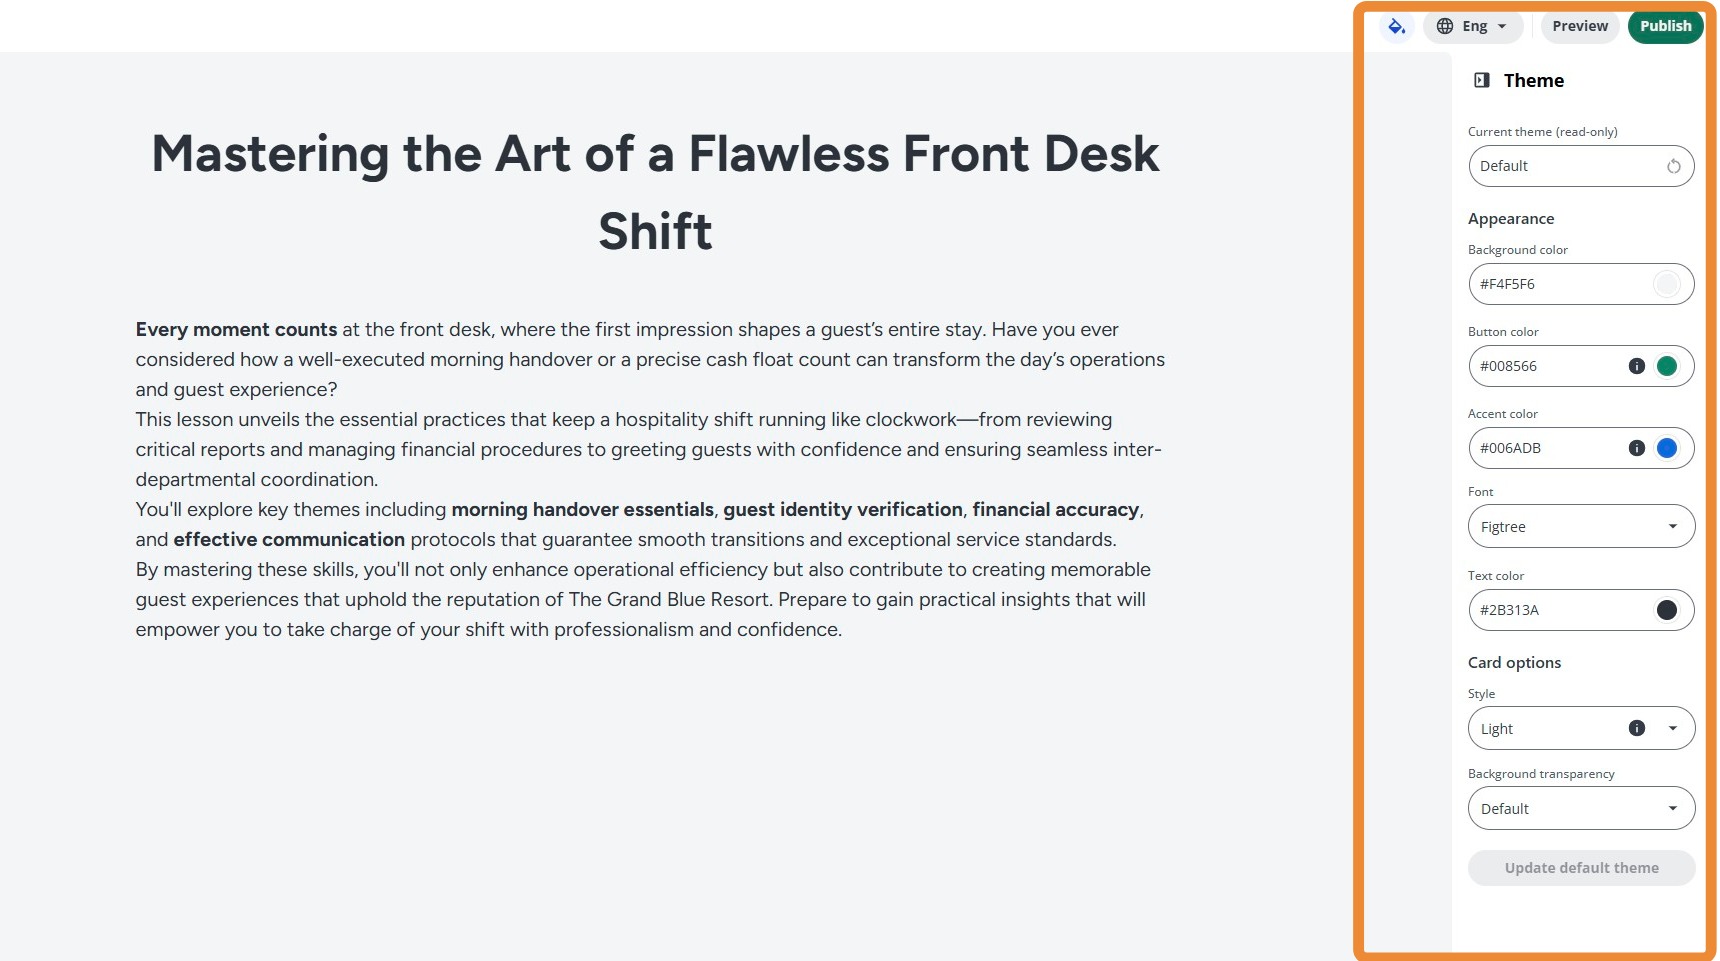
Clicking the Themes button will make the themes bar appear on the right.
11. Here you can change the theme of the training material (colours, fonts, backgrounds and much more).
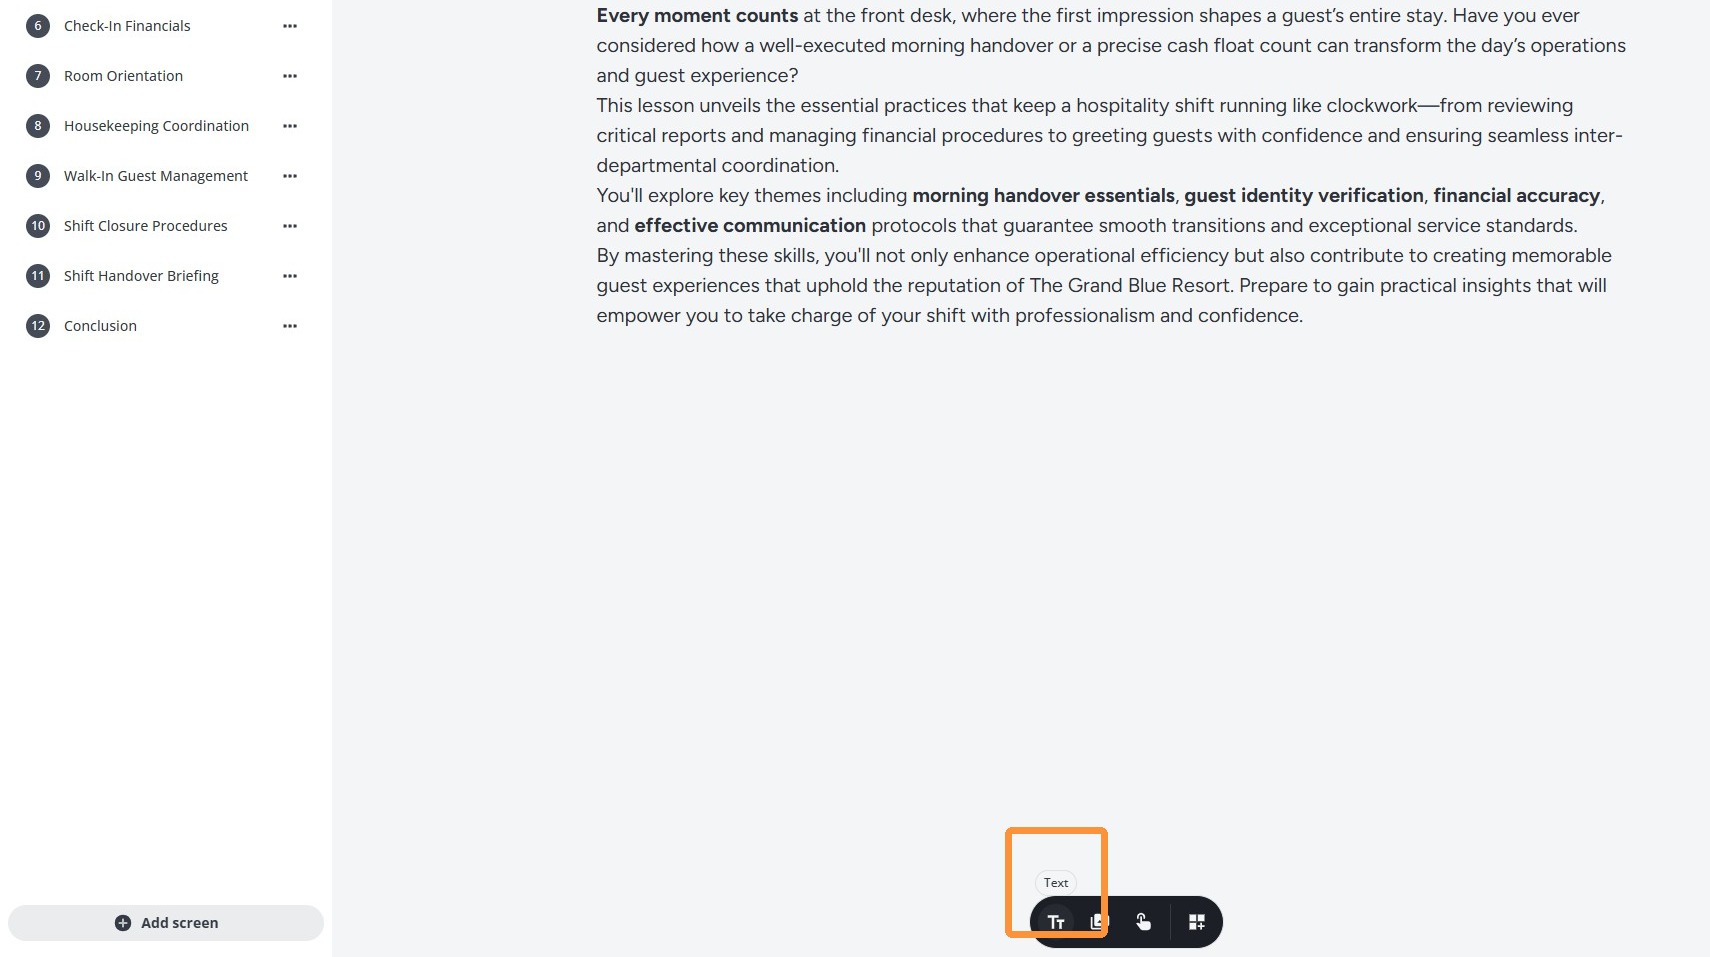
12. At the bottom of the screen, you can navigate to add content to the AI-generated training material.
Click the text button to add Text to the content.
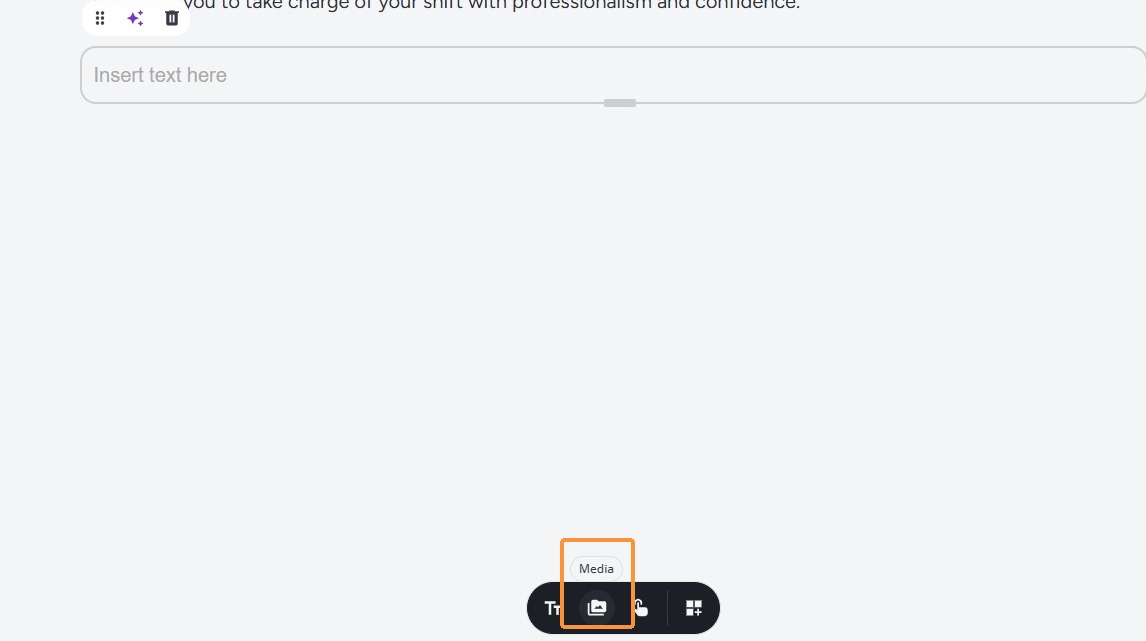
13. Click the Media button to add media (photos or embedding videos).
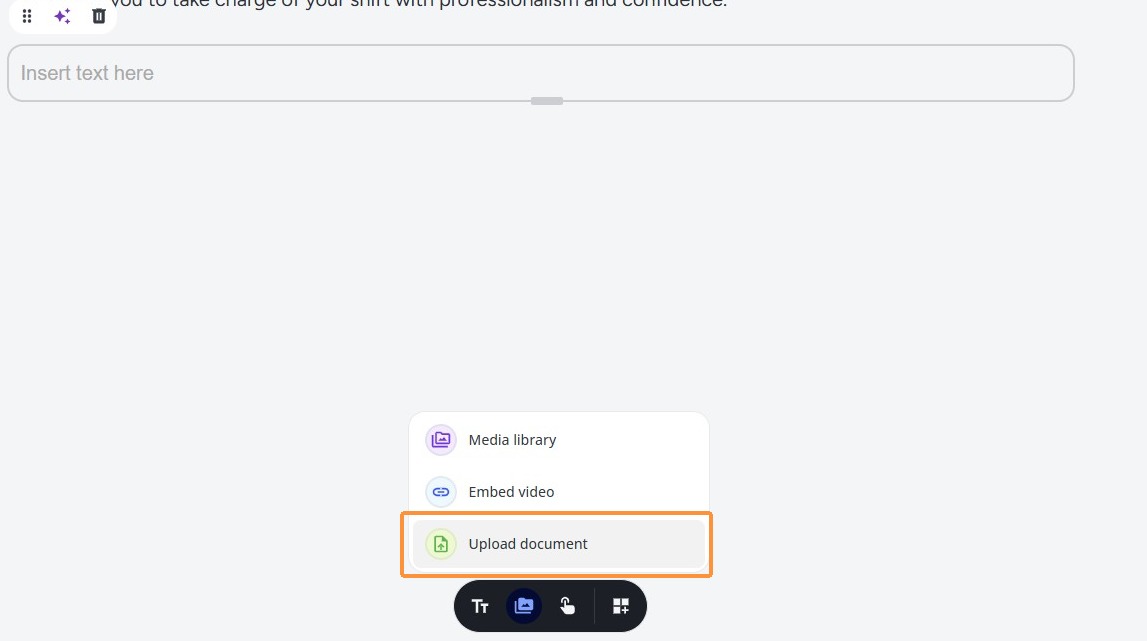
14. You can pick the type of media in the drop-down that follows.
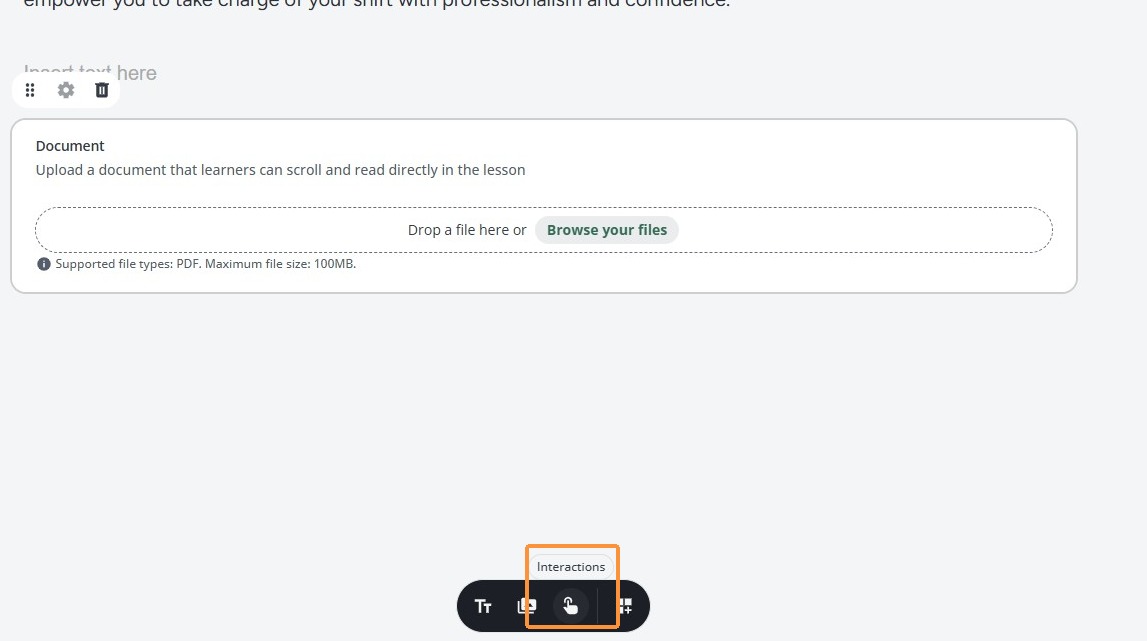
15. Click the Interactions button to add interactive content to the training material (questions, fill-in-the-blanks, flashcards, matching pairs and much more).
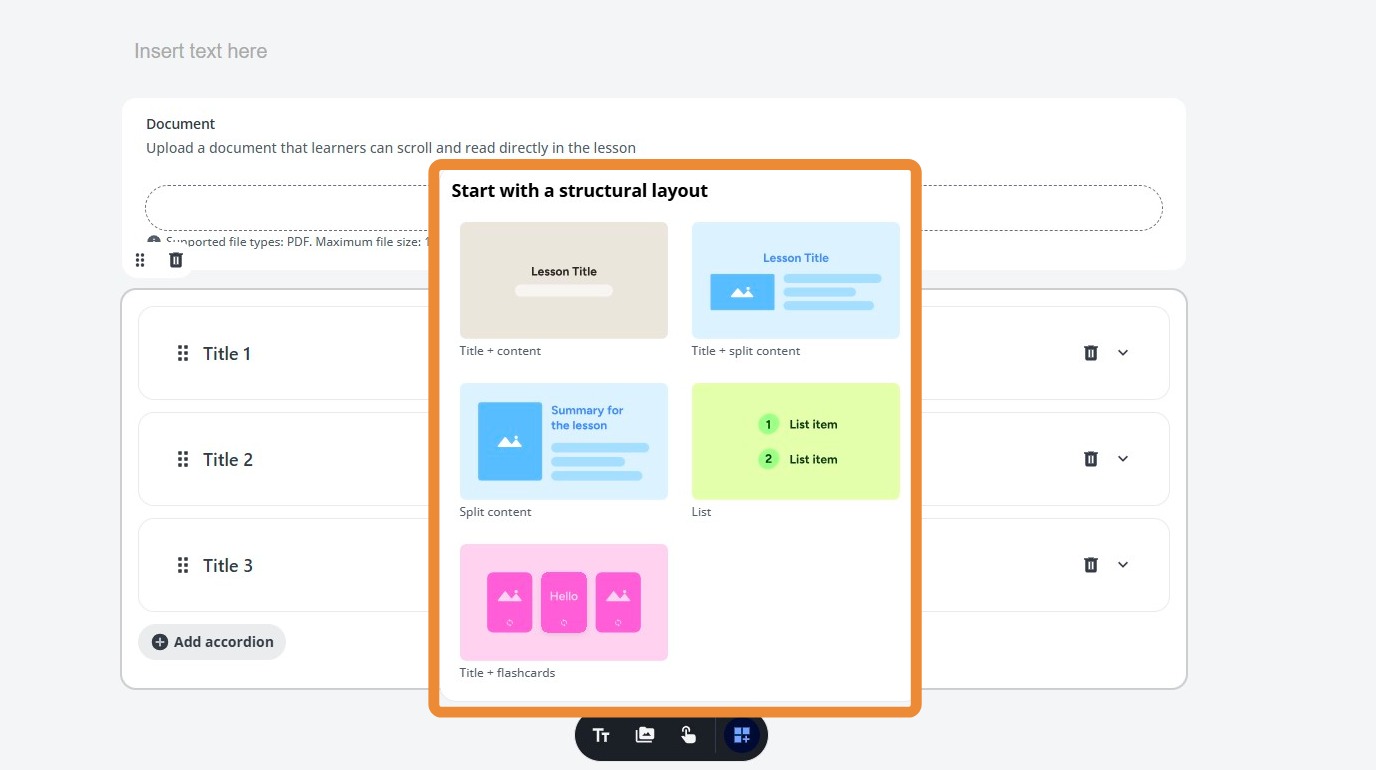
16. The last button on this menu is for editing the Layouts of the content within the training material.
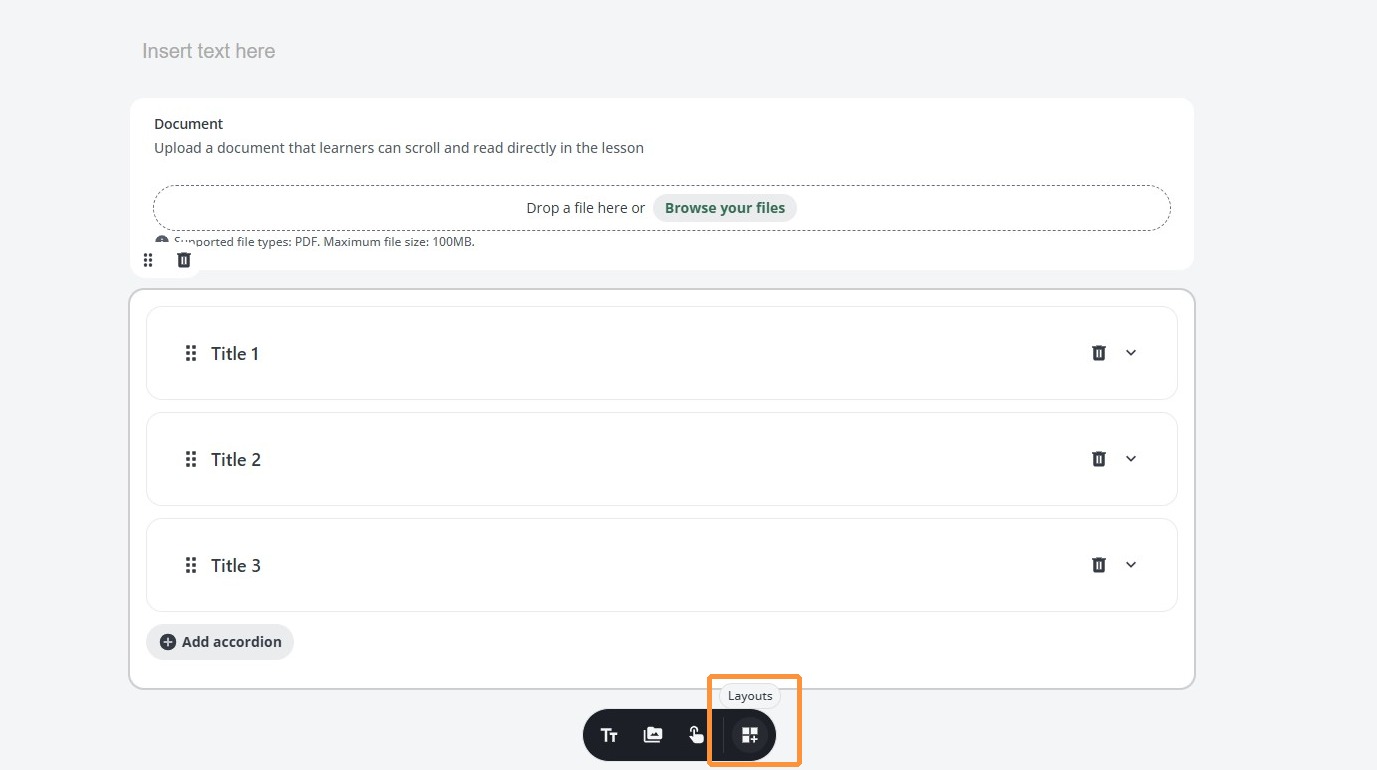
17. It will give you various options to select from.
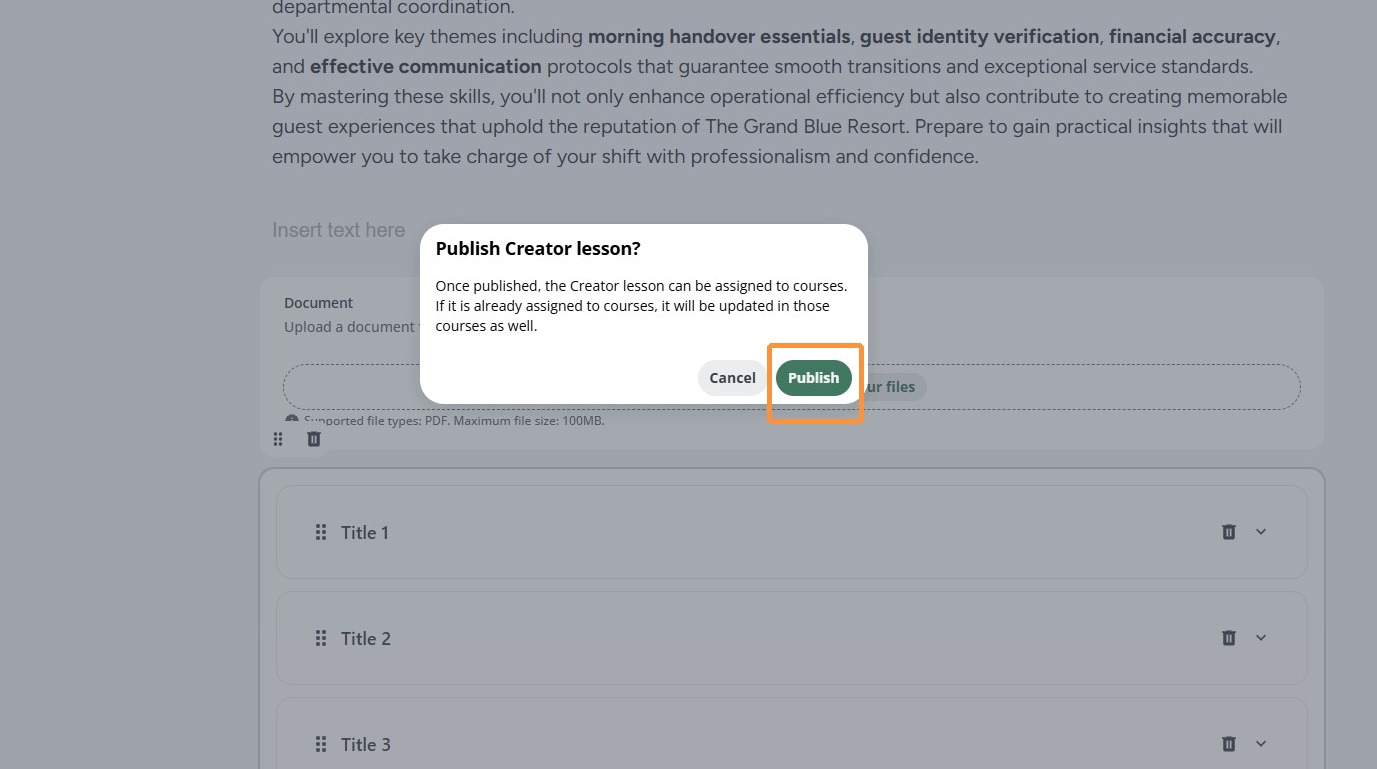
18. When all the editing is done, click the Publish button.
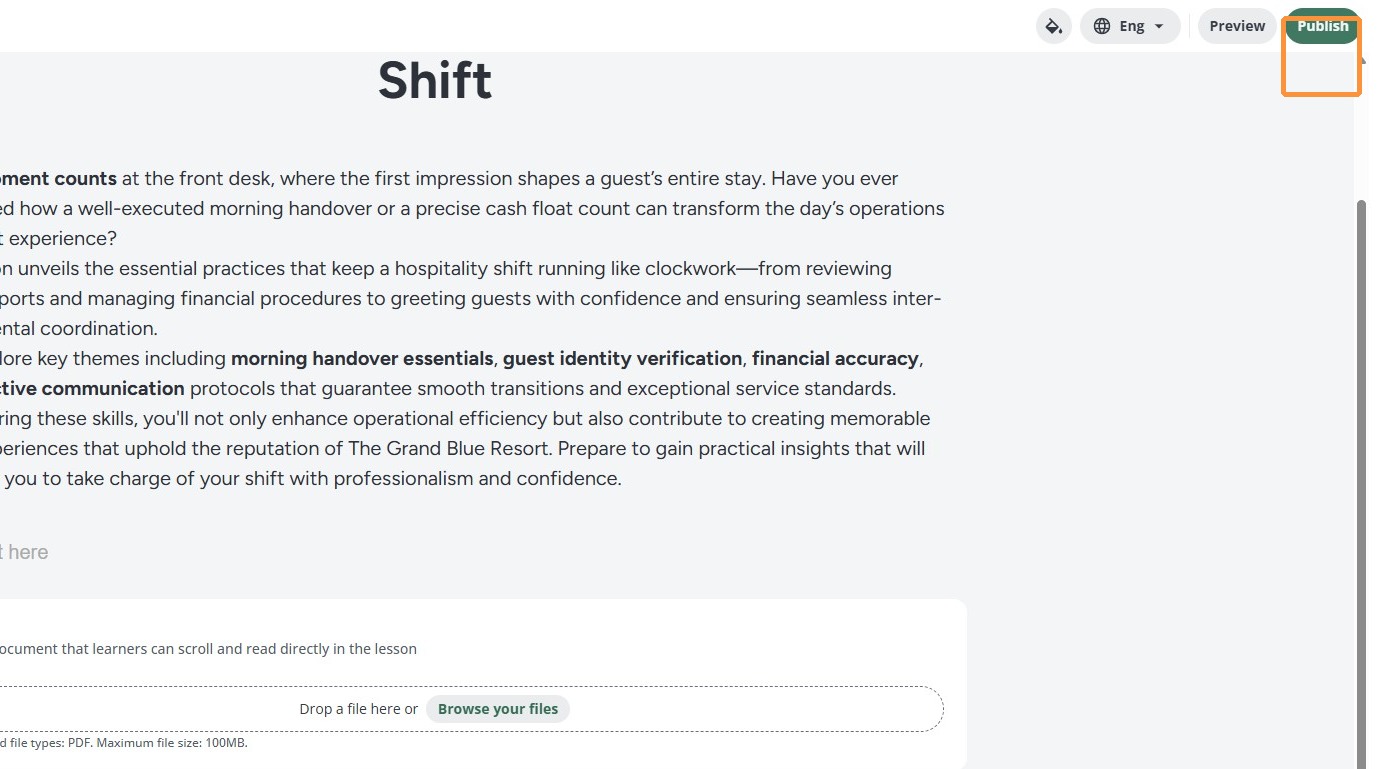
19. Hit Publish again, and the training material will be published. Once you have published it you can always come back to it and make changes under Admin Menu [[→]] Training Materials.
Note: You will need to add this to a course (via Course Management) to distribute it.